Quick Summary
Sharpening dog clipper blades is essential to ensure they cut hair without pulling. Here’s a quick summary of how to sharpen blades, but read the article for the full process.
- Remove the blades, brush off loose hair, and clean them with an appropriate cleaning solution.
- Soak two whetstones – a coarse stone (3000-4000 grit) and a finer stone (around 8000 grit) – in water to allow them to absorb the liquid.
- Using even pressure, slide the edge of the blade you are sharpening along the coarse whetstone. Move from one end of the stone to the other, around 10-15 times. Look for newly exposed shiny metal.
- Use a soft cloth to dry the blades and remove loose metal. Then repeat the process with the finer whetstone (the “polishing” stone).
- Oil the clipper blades according to the instructions.
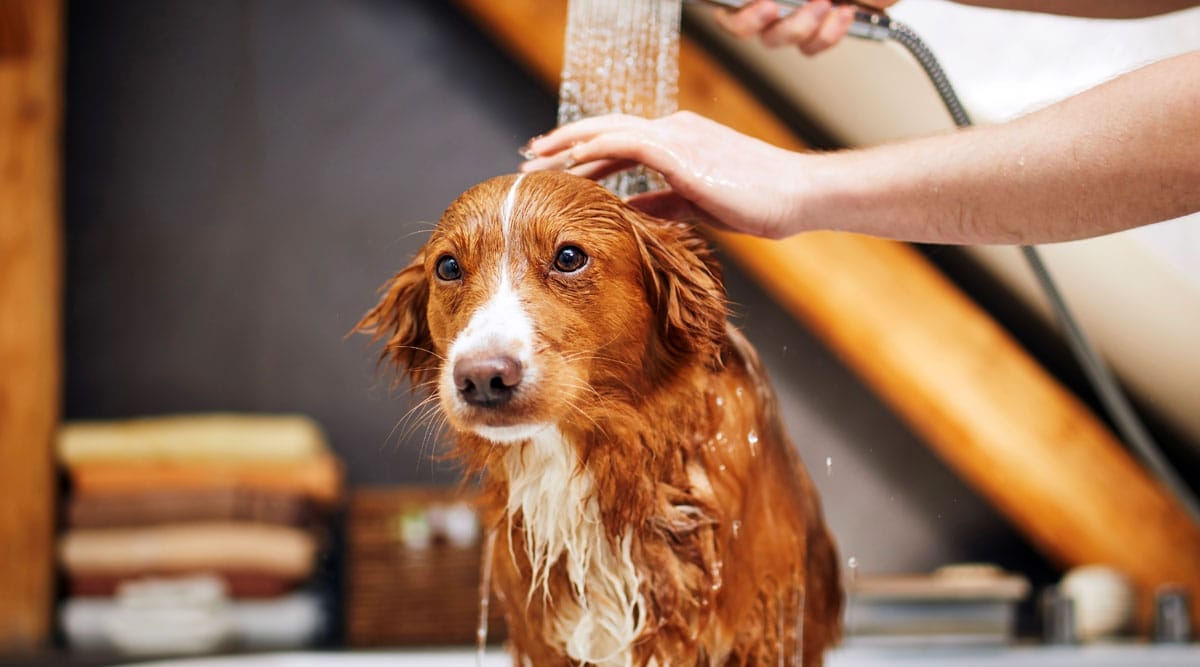
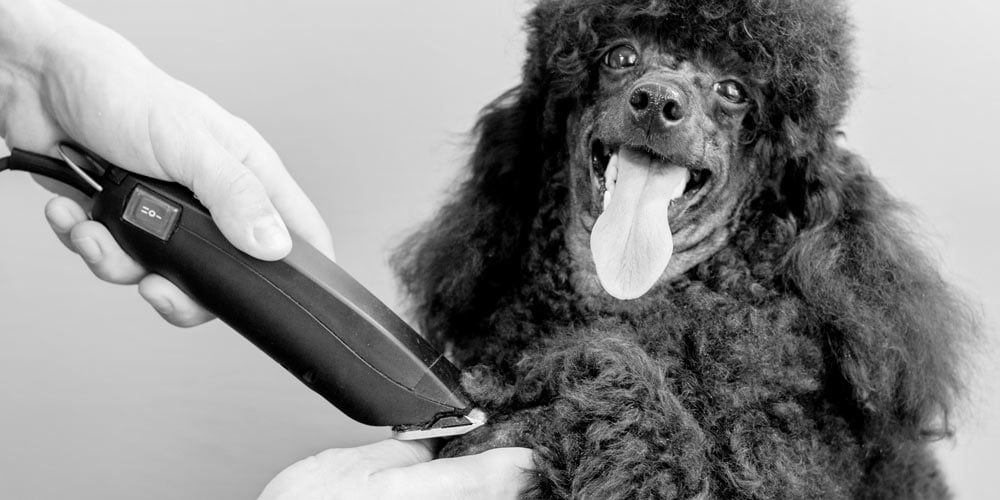
Trimming your dog’s fur with dull clippers is both frustrating and unsafe. If the blades can’t cut cleanly through hair, then they are much more likely to pull and cause discomfort.
“Grooming requires a lot of trust from your dog,” says Rebecca Morello, IMDT-accredited dog trainer. “If your dog is hurt by the use of dull clipper blades you could potentially give them a long-term fear of grooming or the equipment, which takes a lot of work to undo.”
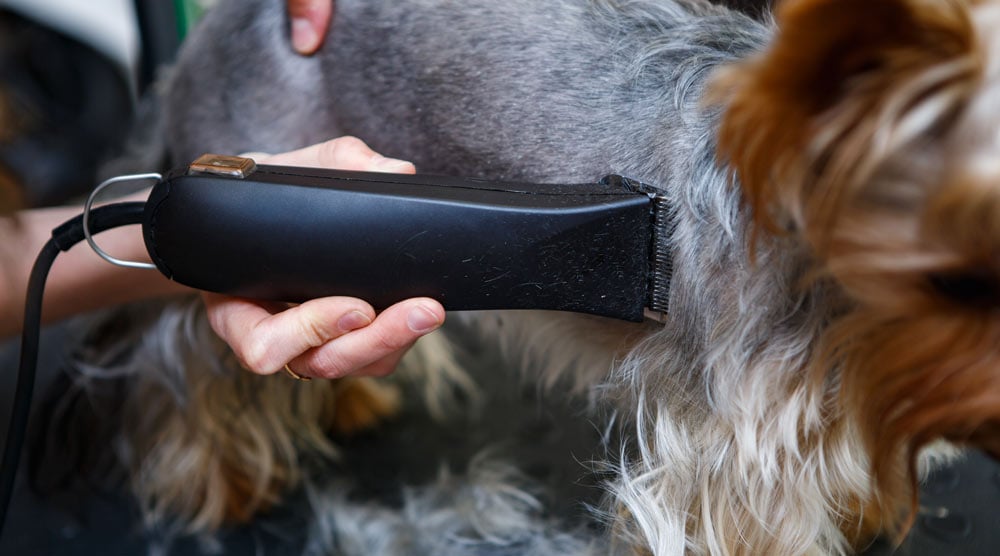
While oiling and cleaning the blades can keep your clippers working for a while, eventually you need to sharpen them. Here’s a step-by-step guide for how to sharpen dog clipper blades using whetstones and clipper oil.
Equipment You’ll Need
- Clippers. Check the instructions for how to remove the blades.
- Screwdriver. Most clipper blades are held with one or two Phillips head screws.
- Whetstones: You need two stones, one of coarse grit in the 3000-4000 grit range and a finer grit stone around 8000 grit. You can find these online or at your local hardware store. If you have ceramic clipper blades, you’ll need diamond-coated stones.
- Spray bottle of water: The most common sharpening stones are “water stones” that must be wet to work.
- Soft cloth: A cloth is useful for removing bits of metal taken off by the sharpening stones.
- Clipper cleaning solution: Use a clipper-specific cleaning solution from any of the major clipper manufacturers (Oster, Wahl, and Andis, amongst others.)
- Clipper oil: Oil is vital, as it lubricates the blades and helps prevent rust.
Tip: Looking for new clippers? Check out our guide to the best dog clippers.
How to Sharpen Dog Clipper Blades
Step One: Remove the Blades
Check the clippers are unplugged (or off if you have a cordless model) before removing the blades.
Some clippers have a latch system for blade removal. But typically you’ll need to remove one or two screws. Put these in a bowl so you don’t lose them!
You should now have a set of stationary blades and a smaller set of reciprocating blades that sit inside the exterior blades.
Step Two: Brush Hair Out of the Blades
Using either the supplied brush or another small brush (such as a toothbrush or cheap paintbrush,) remove fur from the blades. You can also take this opportunity to brush hair out of the head of the clippers.
The blades must remain clean and dry during the sharpening process, otherwise they may not sharpen evenly.
Step Three: Use a Cleaning Solution to Clean the Blades
Rust, hair, and other gunk can build up on your clipper blades and make them difficult to use.
For mildly dirty blades, a simple scrub with a rag or cotton ball soaked in cleaning solution should be adequate. For dirty blades, you may want to soak the blades in a small container of cleaning solution for a few hours.
After cleaning, gently pat the blades dry, leaving some of the solution on the blades to air dry.
Step Four: Prepare Your Whetstones
Both whetstones should be allowed to soak for several minutes to absorb water. This lubricates the stone and allows it to function correctly.
To test whether the stones are ready, spray some water on them. You should be left with a thin sheen of water on top.
Step Five: Sharpen the Blades
Place one of the blades flat against the coarser 4000-grit stone, so that the edge of the blade is in contact with the stone. Press down with your fingers and try to apply even pressure.
Maintain even pressure as you slide the blade from one end of the stone to the other. Once you get to the end of the stone, pick the blade up and start over at the opposite end where you started. Repeat this procedure 10-15 times, or until the blade tips are shiny and you can see newly exposed metal.
Spray the stone with more water as it becomes dry. You should see the blades pushing a thin layer of water from one end of the stone to the other.
Once you’ve done this, use a soft cloth to wipe the loose metal from the blades and dry them. Now, repeat the process with the finer grit polishing stone.
After you’ve finished with both stones, repeat the entire process with the other set of blades. Check you aren’t pressing down too hard on the blade, as this can remove too much material.
Step Six: Oil the Clipper Blades
Apply oil to the clipper blades according to the directions on the bottle, then rub it in with a paper towel or cotton ball. The blades should be evenly coated, but not dripping with oil, as this can cause lint, dirt, and other debris to stick to them.
You want to aim for a light sheen that’s almost unnoticeable. This will help to keep the blades lubricated and free of rust.
Step Seven: Reassemble the Clippers and Test
Your clipper blades should now be sharpened, oiled, and ready to use. Attach them to the clipper head and you’re in business!
If you still have problems with the blades, sharpen them again, this time using about five passes back and forth on each stone. If they still pull hair or won’t cut properly after that, it might be time to get replacement blades or new clippers.
Summary
Dull clipper blades are a pain to use, and can even rip hair out if they get bad enough. While cleaning and oiling the blades is important, eventually all clipper blades need to be sharpened.
Fortunately, it’s not too hard to sharpen the blades at home. All you need are some sharpening stones, clipper oil, and the method outlined in this article.
Remember, dull clippers can hurt your dog. Keep your clippers sharp, and your pet will thank you for it!
We hope this article has helped you learn how to sharpen dog clipper blades. If you have any questions, please let us know in the comments section. You may also want to read our article “Can You Use Human Conditioner On A Dog?”